
Living in Tacoma, I’ve seen countless garages flooded by Pacific Northwest rain because of worn or missing weatherstripping. This simple component creates a watertight seal between your garage door and the opening, and when it fails, you’re inviting water, drafts, and even pests inside.
After years of helping homeowners throughout Pierce County deal with moisture damage, I’ve learned that proper weatherstripping is your first line of defense. Let me show you how to inspect, replace, and maintain this critical barrier.
Table of Contents
What Type of Weatherstripping Does Your Garage Door Need?
Garage doors use two main types of weatherstripping: bottom seals and perimeter seals. The bottom seal attaches to the lower edge of your door and sits flush against your garage floor. Perimeter seals run along the sides and top of the door frame.
Bottom seals come in various profiles, including bulb-style, T-shaped, and bead-end designs. Your door’s retainer channel determines which type you need. Most modern doors use a bulb or beaded seal that slides into an aluminum or vinyl track, and selecting the right Garage Door Parts ensures a proper fit and long-lasting protection.
How Do You Know When Weatherstripping Needs Replacement?
Your weatherstripping needs replacement if you see visible light under your closed door, notice water pooling inside after rain, or spot cracks and brittleness in the rubber. In Washington’s wet climate, I recommend inspecting your seals at least twice yearly.
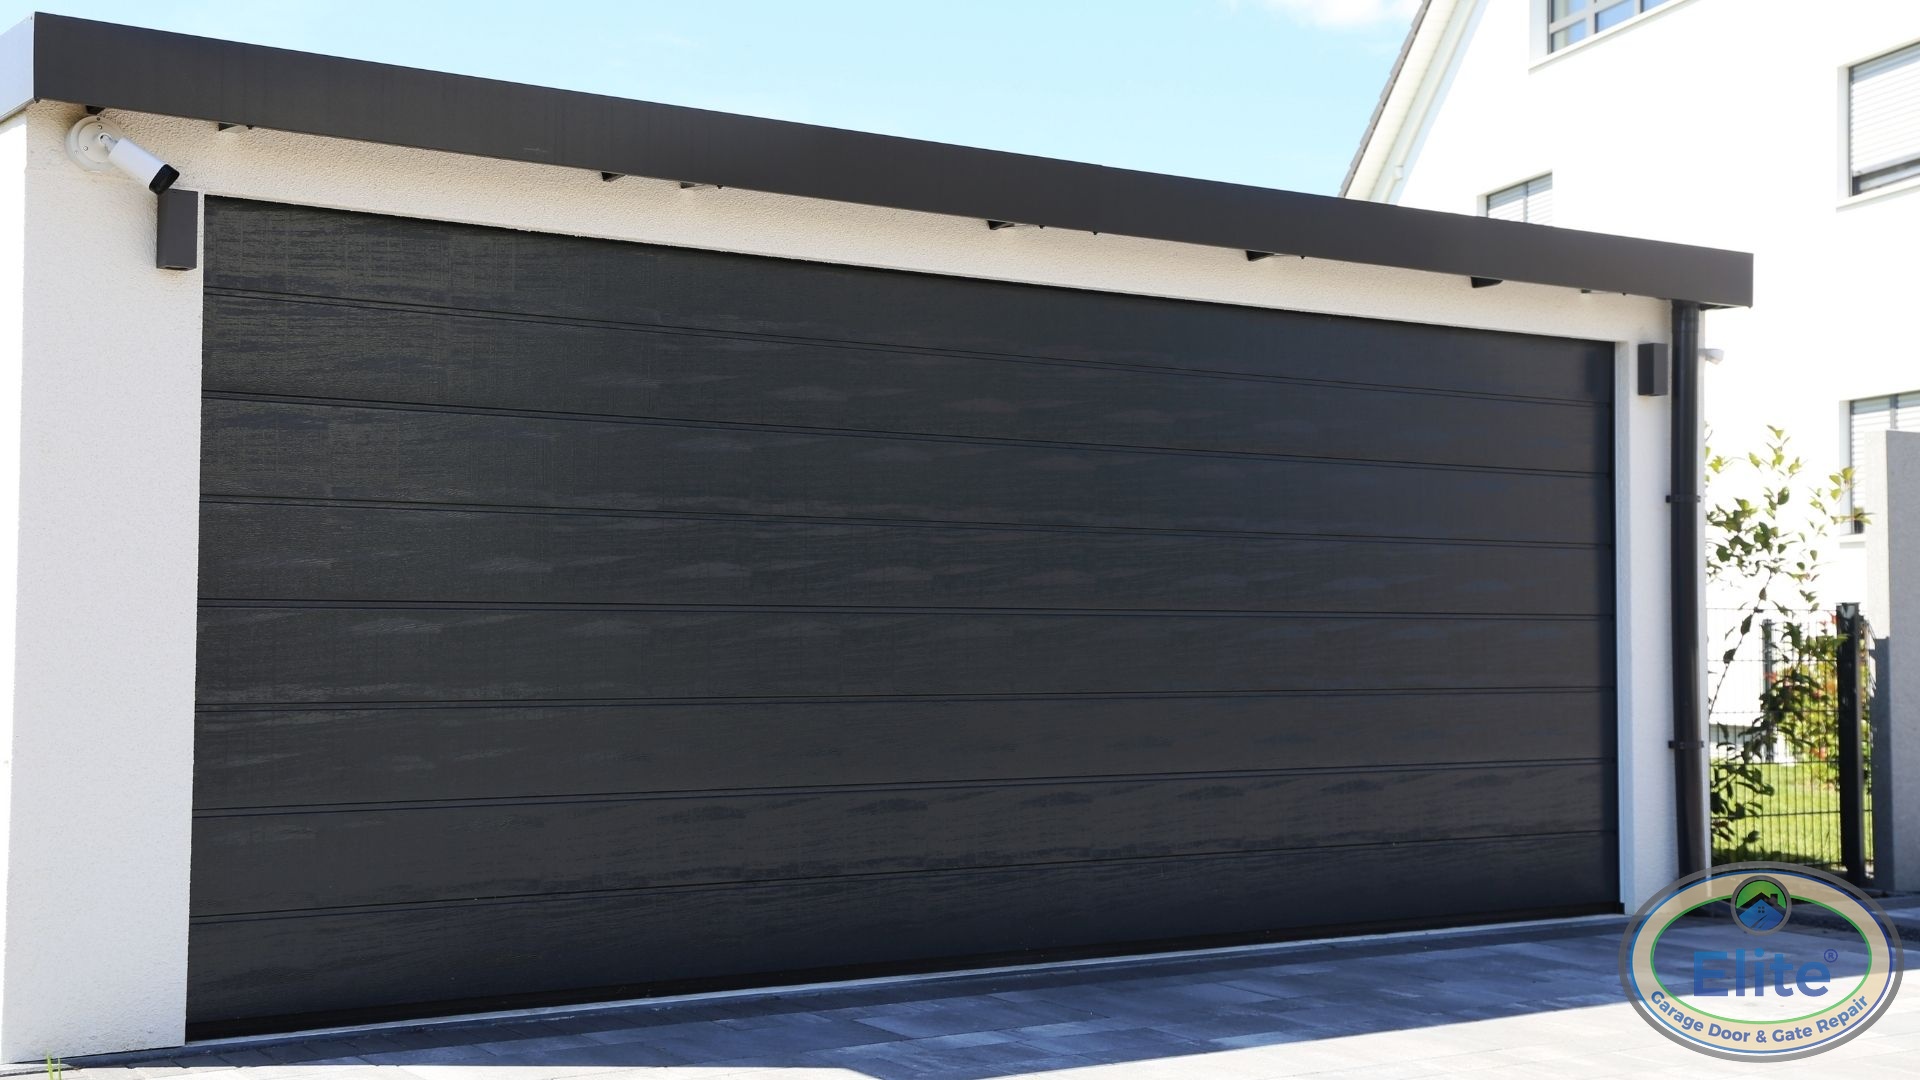
The bottom seal takes the most abuse from constant contact with concrete and exposure to rain. If it’s compressed, torn, or missing chunks, it’s time for a replacement.
Step-by-Step Weatherstrip Replacement Process
First, measure your garage door width to purchase the correct length of weatherstripping. Add a few extra inches to ensure complete coverage.
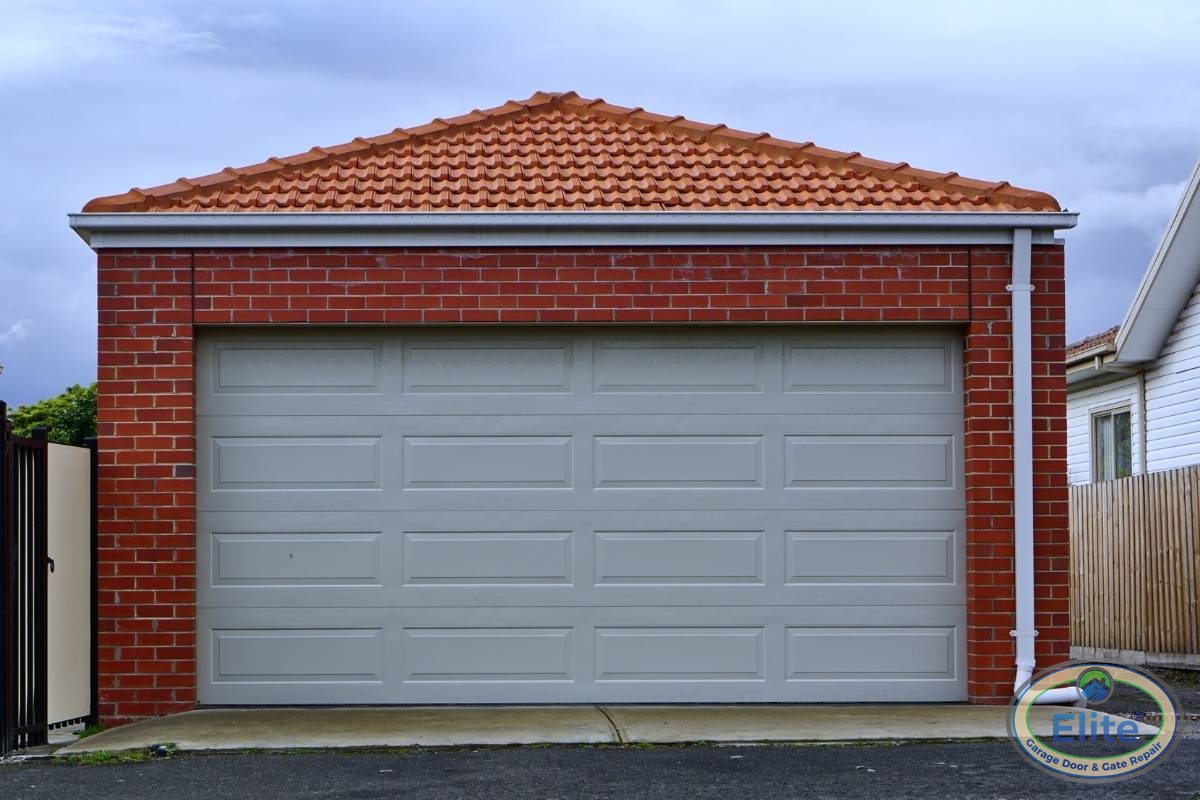
Remove the old seal by opening the retainer channel ends with a flat-head screwdriver, then pull the worn seal out. Clean the channel thoroughly, removing any debris or dried adhesive that could prevent a proper fit.
For installation, I apply a small amount of dish soap to the new seal. This lubricant helps it slide smoothly into the channel. Work the seal in from one end to the other, ensuring it seats completely in the track.
Trim any excess length with a utility knife, then close the retainer tabs to lock the seal in place. Test by closing your door and checking for gaps, which can compromise Garage Door Safety and allow unwanted elements inside.
Maintaining Your Garage Door Seals
In Tacoma’s rainy climate, weatherstripping deteriorates faster than in drier regions. I recommend cleaning your seals quarterly with mild soap and water to remove dirt and grime.
Apply a silicone-based lubricant twice yearly to keep the rubber flexible and prevent cracking. Avoid petroleum-based products, which actually break down rubber over time. Proper maintenance also helps Protect Your Home From Break-Ins Through The Garage Door by ensuring your seals remain intact and secure.
Professional Help Makes the Difference
While weatherstripping replacement is manageable for many homeowners, perimeter seal installation can be tricky without proper tools. If you notice persistent water intrusion or difficulty identifying the right seal type, similar to troubleshooting issues like Why Your Garage Door Sensors Keep Blinking And How To Fix Them, our team at Elite Garage Door & Gate Repair of Tacoma can diagnose the issue and install the correct weatherstripping to keep your garage dry all season long.